


Cleaning after each harvest is critical to maintaining GMP compliance and preserving the legendary performance of Munch Machine buckers. This post features tips & tricks to help with daily and periodic deep cleaning.
Whether you buck your plants wet or dry, after a day of work, there will be a sticky residue left on surfaces that touch your material. Specifically, you need to clean the die and face plates (#2, #3, #4) of the machine, as well as the rollers (#29) inside the machine. First, a list of tools and materials:

- Safety first!- Keep yourself safe and your clothing clean.
- Rubber gloves - Long gauntlet styles are handy for keeping your sleeves clean.
- Protective eyewear - Because flying debris or cleaning solution in your eyes is not fun.
- Apron - Or other over-clothing to protect your duds from flying debris and solvent.
- Stiff plastic brushes - Avoid steel or brass bristles as they are too harsh and can cause damage.
- Scouring pads - We prefer the “heavy-duty” sponge/abrasive pad combo.
- Clean rags - Low-lint cloth rags and/or the blue, low-lint “shop rag” paper towels.
- Plastic scraper or putty-knife - Do not use metal as it may damage the rollers.
- Cleaning solution- We recommend 70% or lower isopropyl alcohol applied with a spray bottle. Other solutions, such as Simple Green and most citrus-based cleaners, are acceptable alternatives.
ATTENTION- Do not use stronger than 70% isopropyl alcohol. Use of higher concentration isopropyl alcohol will void the warranty and damage the rollers and other components of the machine
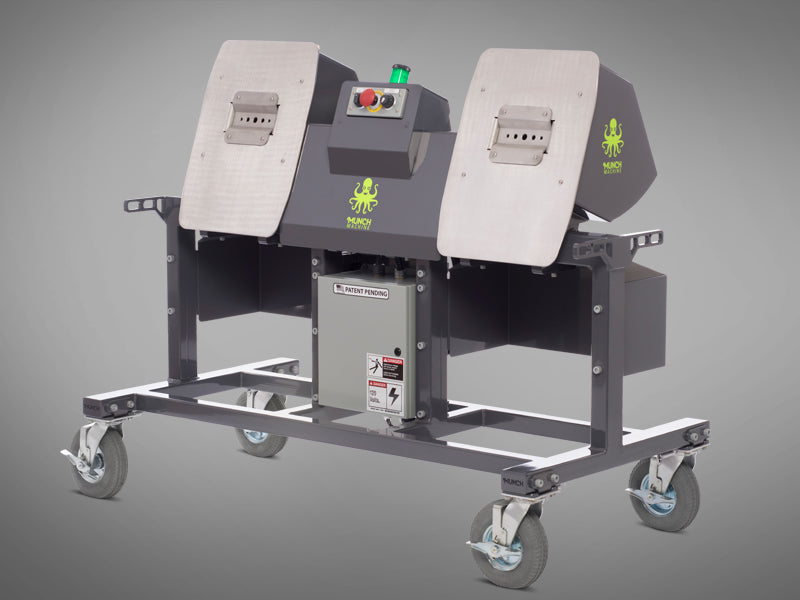
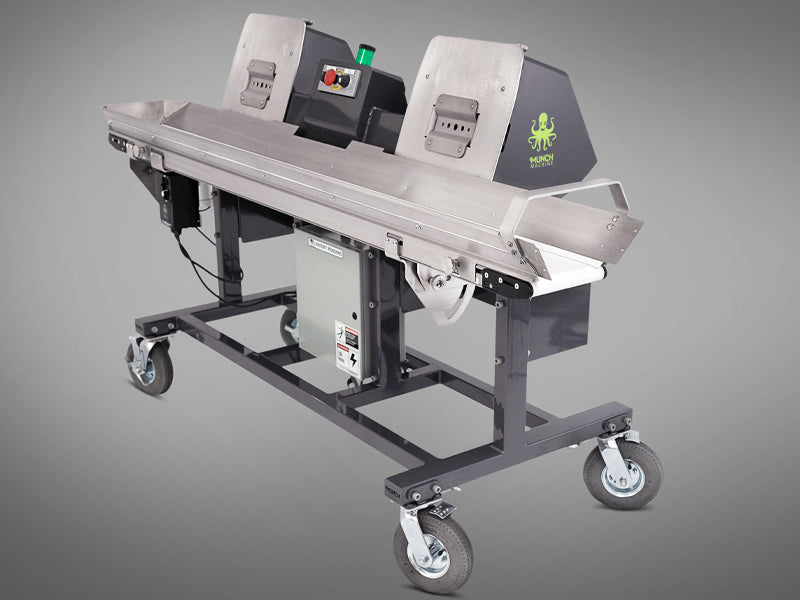
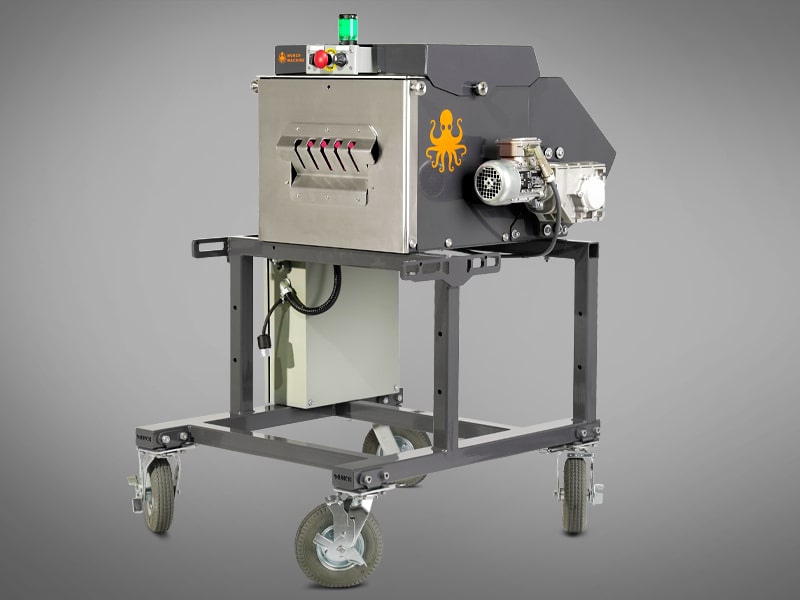
NOTE: If you are unfamiliar with any machine components we mention in this post, please reference the technical drawing at the bottom. The drawing shows the Mother Bucker, not the dual-head Double Bucker, but they are very similar, so everything in this post applies to both machines.
Daily Cleaning - Rollers, Die Plate, and Face Plate:
It’s easy to focus on the dirtiest parts of your machine during your daily cleaning, but be sure to include a check of the QD bushings & lower flange bearings to ensure they remain free of debris to avoid microbial growth. The more you incorporate deep cleaning into your daily cleaning process, the easier it will be to deep clean when the time comes.

Dirty Mother Bucker after a 600 plant indoor harvest.
- (1) Unplug machine and remove hood (#5). Then back off roller tension bolts (#47) to loosen rollers so they can be easily rotated by hand.
- (2) Rollers (#29): Rotate rollers while spraying liberally with your chosen cleaning solution. Use a stiff plastic brush and a plastic scraper to loosen resin and debris from rollers. Spray, scrub and repeat until all resin buildup is removed from the rollers
- TIP: Try soaking a rag, wrap it around the ollers, then let it sit for 5-10 minutes. This will soften the resin buildup and make removal easier.
- (3) Under the hood: Clean any debris collected near the rollers, side plate (#23), lower cross plate, and bearings (#41, #42).
- To avoid microbial growth, check behind the lower flange bearings (#42) for excessive buildup and clean if needed (see details for how to clean here under point #2 a & b below)
- (4) Front of the machine:
- Remove the die plate (4 allen bolts) to clean the back side. Spray, scrub, and repeat. A plastic scraper can be useful here.
- TIP #1: Similar to the roller tip above, soak a rag in your cleaning solution, and place on the die and face plates. You may need to work the rag into the concave places.
- TIP#2: Many cultivators buy extra die plates. Instead of spraying and scrubbing, you can just pop the 4 allen bolts off and swap the dirty die-plate out with a clean one.
- (5) Buttons and switches: Resin collects here from gloved hands. Avoid spraying solution directly onto these components, instead, spray a rag with cleaning solution and wipe till clean.
- (6) Once the majority of resin is removed from the rollers, die plate and face plate, we recommend using a heavy-duty scrubbing pad to remove the final layer of resin/solvent residue.
- (7) Wipe the entire machine down with clean rags and <70 ISO alcohol. We recommend spraying a rag, then wiping the machine, instead of spraying directly onto the machine for this final step.
Deep Cleaning - Maximize Longevity and Maintain GMP Compliance
From time to time, you will need to do a deep clean on your machine. How often depends on your use scenario:
- For “perpetual harvest” operations, where cultivators are bucking year round, we recommend a deep clean that fits within your GMP compliance protocols.
- For cultivators with more sporadic bucker use, or seasonal operations, the machine should be deep cleaned after heavy use – for instance, after an outdoor harvest is complete.
- If you plan on storing your bucker long enough for microbial contamination to propagate, we highly recommend doing a deep clean before putting your bucker away.
The goal of a deep clean is to get all debris out from the nooks and crannies of the machine, plus it gives you an opportunity to perform close-up inspections of critical parts. If GMP compliance is important to you, deep cleaning should be an essential part of your routine.
Most Munch Machine owners will likely be deep cleaning by hand, let’s review that process first.
Recommended Deep Cleaning Tools: In addition to the tools listed above for the daily clean:
- A small tubing/pipe brush (½” in diameter) that can be bent into a curve is helpful for cleaning two specific areas (details below under point 2, a & b).
- The use of an air compressor to blow out debris and/or residual cleaning solution or water is also highly recommended.
Deep Cleaning Process -By hand:
- (1) First, perform a standard daily clean (described above) and leave the hood off the machine
- (2) Spray cleaning solution as needed and focus on these areas:
- (A) - Lower flange bearings (#30, both sides) - Material collects in the crevice on the inner side of the cast steel bearing housing. This area is accessible through a slot between the outside of the rollers and the inside of the slide plates (see annotated image below for details). Use the small round ½” diameter pipe brush, being careful not to damage the seal on the bearing.
- (B) - QD hub bushing (#40, 4 bushings) - Clean the inner groove where the steel bushing meets the aluminum core of the roller hub. This area is directly opposite the lower flange bearing (next to the roller). Use a narrow headed stiff brush to clean the groove.
- (C) - Head mount brackets (#39, 4 brackets) - The underside of these 4 brackets has a drain hole that needs to remain clear. Use a small tool to remove any debris from the hole.
- (3) After removing debris from the areas above, if you have an air compressor, blow out any residual solvent from nooks and crannies, taking care not to damage bearing seals. If not, just wipe down with a clean rag and do your best to soak up any collected cleaning solution.
- (4) When the machine has dried completely, to prevent the drive shaft and follow shaft (#31, #32) from rusting, use a gloved finger or small brush to re-apply a thin layer of grease on the shafts.
See annotated image below for were to clean (referenced in point 2, a & b)

Deep Cleaning - Using Pressure Washer - Prep and Precautions:
The Mother Bucker and Double Bucker are built for outdoors use, so critical components are sealed against typical kinds of water intrusion like rain or a low-pressure garden hose rinse. Specifically, the electrical panel is NEMA 4.12.13 rated (water and dust resistant) and the drive motor is wash-down rated. With that said, be careful when using a power washer as damage can occur.
To make deep cleaning faster and easier, you may consider using a pressure washer. NOTE: Before blasting away with high PSI water, be sure to clean these parts by hand:
- Control panel and drive motor
- Bearing assemblies
- QD hub bushing
- See point #2, a & b above for details on how to clean these areas by hand BEFORE power washing.
ATTENTION - Do not spray high pressure water into bearing areas, control panel or drive motor
After cleaning those parts, you can bring out the pressure washer, but some precautions must be followed to make sure your machine is not damaged:
Preparation and Precautions:
- First, make sure the bucker is unplugged from power, is stable – with the wheels blocked if necessary – and in an area where overspray from a pressure washer won’t be an issue.
- Cover the electronics panel and motor with a plastic garbage bag. Never power wash your motor or electrical panel. Damage will occur and you will void your warranty.
- This will help keep high-pressure water from entering critical components, and also make the final wipe-down easier as overspray won’t be all over those components.
- Never spray directly into the bearings! (#40, #41).
- These are sealed against typical water intrusion but are not designed to withstand high pressure.
- Do not use a power washer over 2,000 PSI.
- If your power washer has a fixed pressure over 2,000 PSI, consider buying a regulator to reduce pressure to a safe level.
- We recommend using an extension wand, and a 15-25 degree fan nozzle.
Power Washing your bucker:
- (1) Spray the rollers, face plate, die plate, and other areas where resin and debris have collected.
- Take great care to avoid spraying directly into the bearings
- When spraying the rollers, keep the spray-gun moving to avoid damaging the rollers.
- (2) After pressure washing:
- If you have an air compressor, blow out any residual water from nooks and crannies. If not, just wipe down with a clean rag and soak up any collected cleaning solution.
- Note: Using a pressure washer will spray debris all over the machine, so a thorough overall machine wipe-down is usually needed after power washing.
- (3) When the machine is completely dry, use a gloved finger or small brush to re-apply grease to the drive shaft and follow shaft (#31, #32).
- This will keep the steel shafts from rusting and make any future repair much easier. Use the recommended food-safe grease (Lubriplate FGL-2, see product link below).
- (4) Reinstall the hood(s), and you are ready to get back to bucking!
Resources - Recommended Cleaning Tools and Products:
- Solvents/cleaners:
- 70% isopropyl alcohol- This is the most commonly used cleaner in our industry.
- Simple Green - A great environmentally friendly alternative. We’d recommend“Crystal Simple Green” as it is GMP compliant, colorless, and odorless.
- Citrus-based cleaners are another environmentally friendly alternative. The chemical composition varies widely so be sure to check for GMP food-grade compliance.
- Hand Cleaning Tools - We will link to Libman brand here, but anything similar will work:
- Stiff bristle brush - “Heavy Duty Scrub” or “Big Job Kitchen” or anything similar.
- Narrow stiff brush - This style of “Tile & Grout” brush is handy for getting into corners and QD bushings.
- Round brush - “Bottle Brushes” and small pipe/tubing brushes are great for getting into nooks and crannies.
- Heavy-duty scrubbing sponge - Libman “Tough-Job”, 3m “Scotch-Brite” HD Sponge or similar.
- Plastic scraper - Anything that looks like thisgoogle image search will suffice.
- Lubrication:
- Lubriplate FGL-2 Food-safe Grease - Use for all greased components: driveshafts (#31, #32), re-greasing bearings (#40, #41, #42), and side plates (#23) where they interact with the take-up bearings (#41).
- Cleaning Rags:
- Any low-lint cotton or microfiber “cleaning rags” will work. They can be soaked in solvent, washed and reused. Or, any kind of disposable low-lint paper “shop towels” will work.
